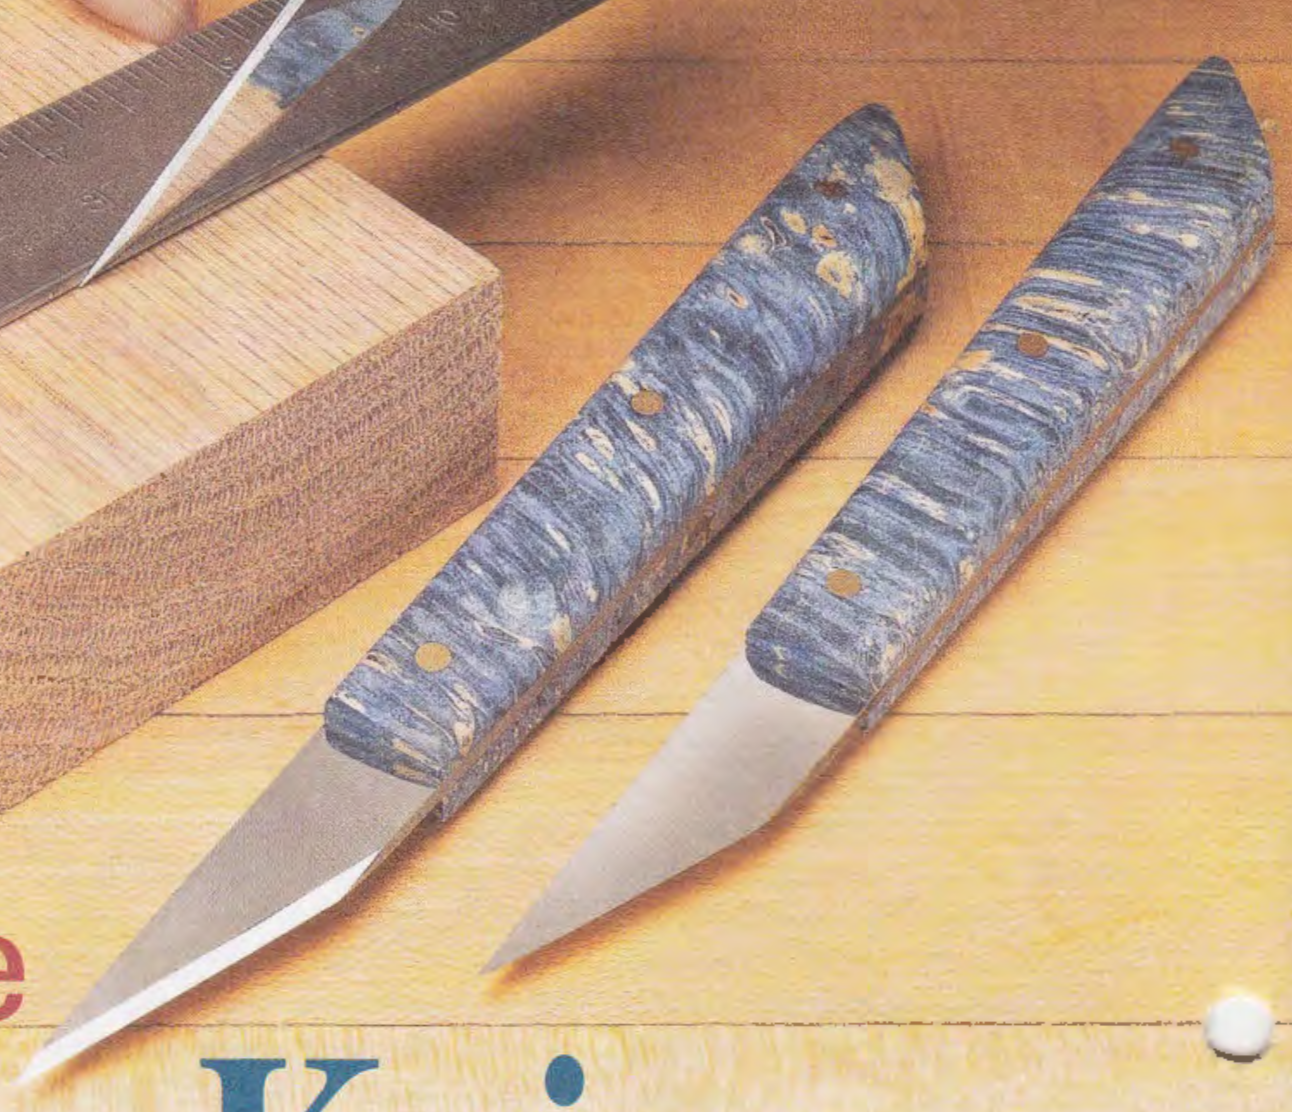
After the awl I have a hankering to make more woodworking tools. This next project is from ShopNotes Vol. 117, pg 32. The plan is to make a pair of marking knives. The difference between marking knives and regular knives is the bevel is only on one side of the knife. I will make one knife that is beveled on the left side and one that is beveled on the right. The handles will be made from walnut. A picture of the knives in ShopNotes is included below.
The first step is laying out the knives. Oil hardening tool steel was purchased from Grainger. It is 1/16" X 1 1/2". A 6 1/2" length is needed for two knives. I could not find my spray can of Dykem layout dye so I covered a 6 1/2" length of the steel with blue Sharpie ink. Two knives were marked out side by side with a scribe. If you look closely, you can see the layout lines in the picture below. The holes are centered on the width of knife at that point.

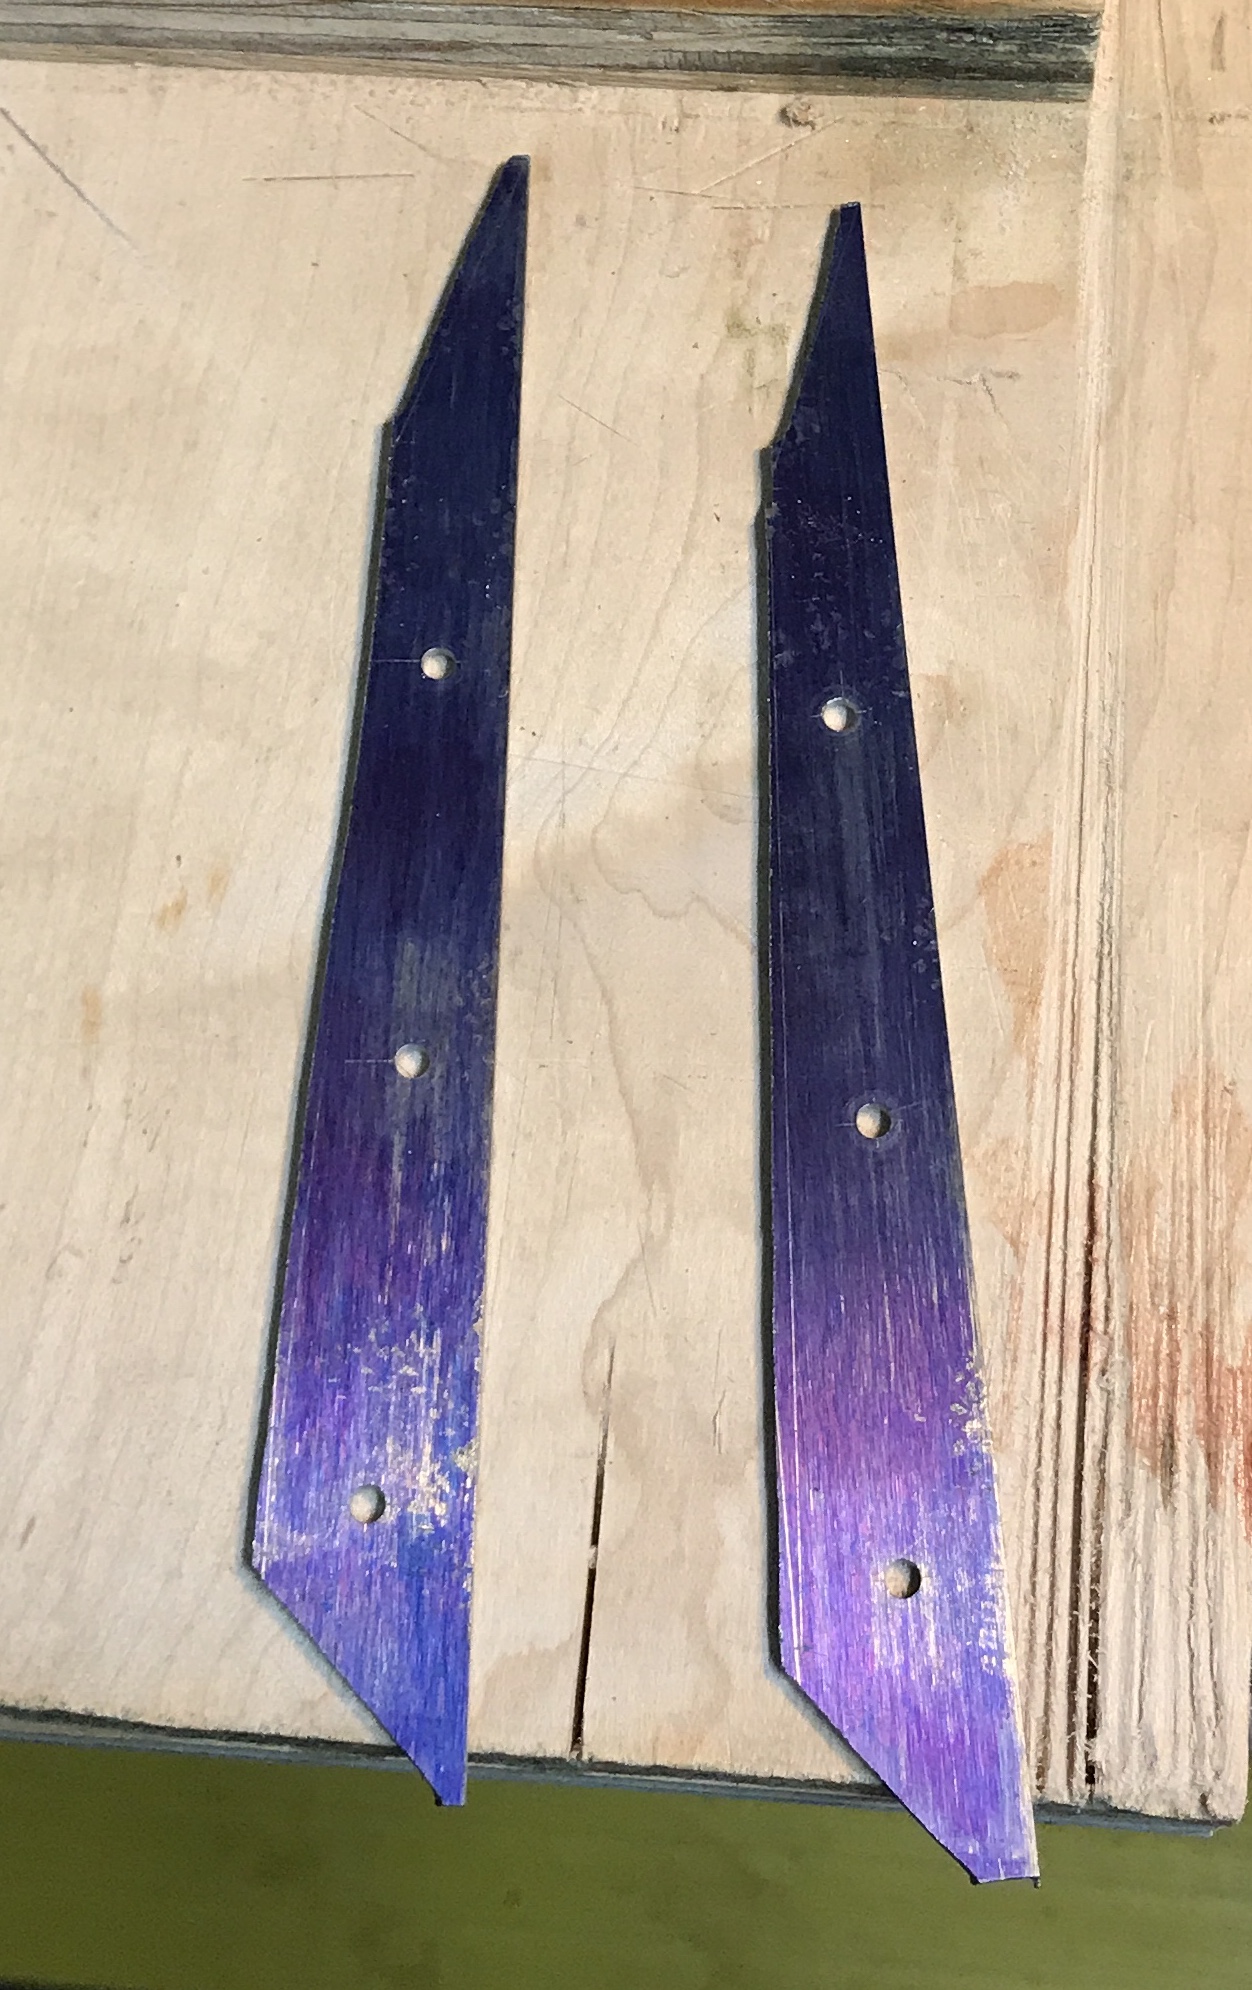
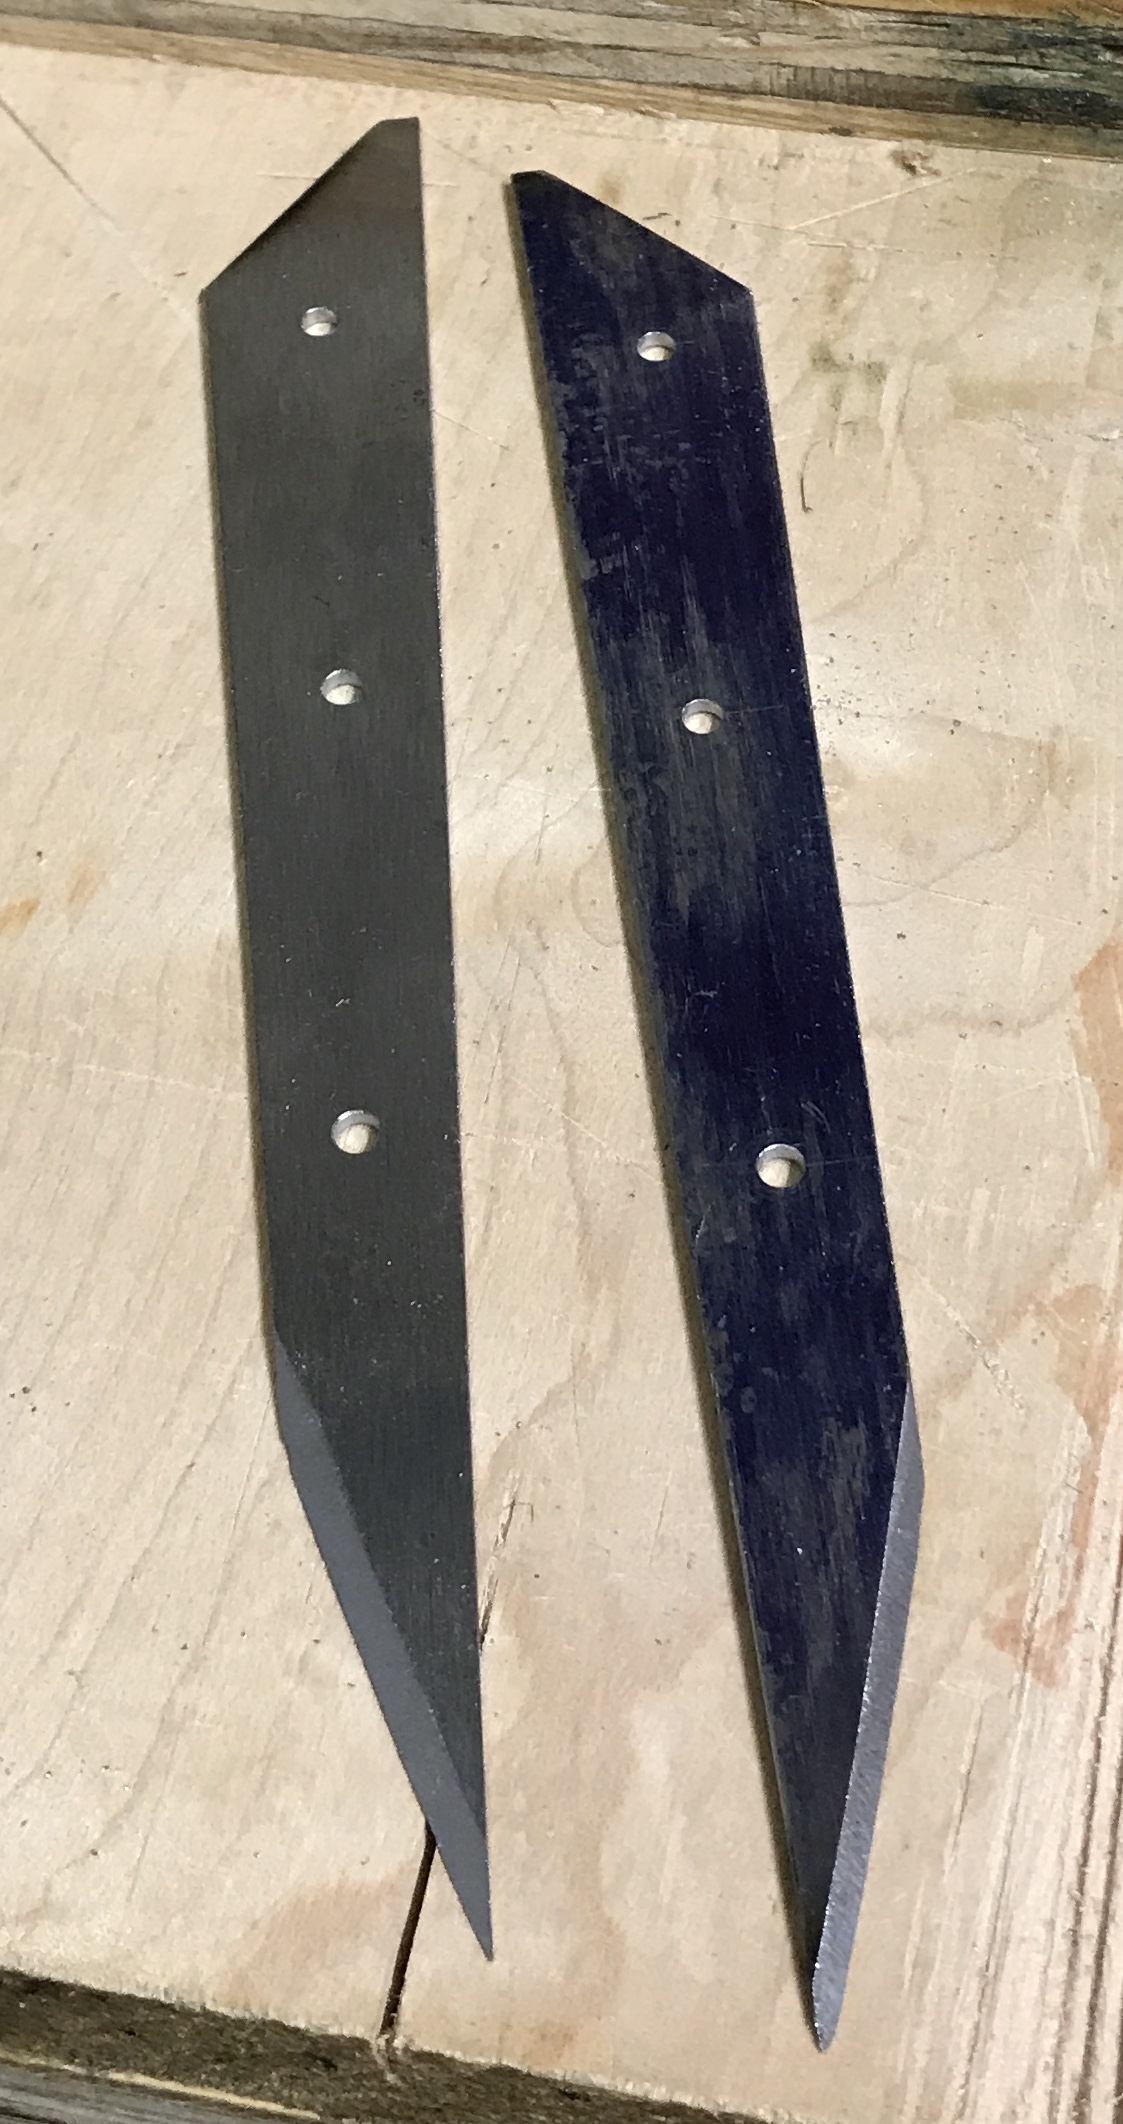
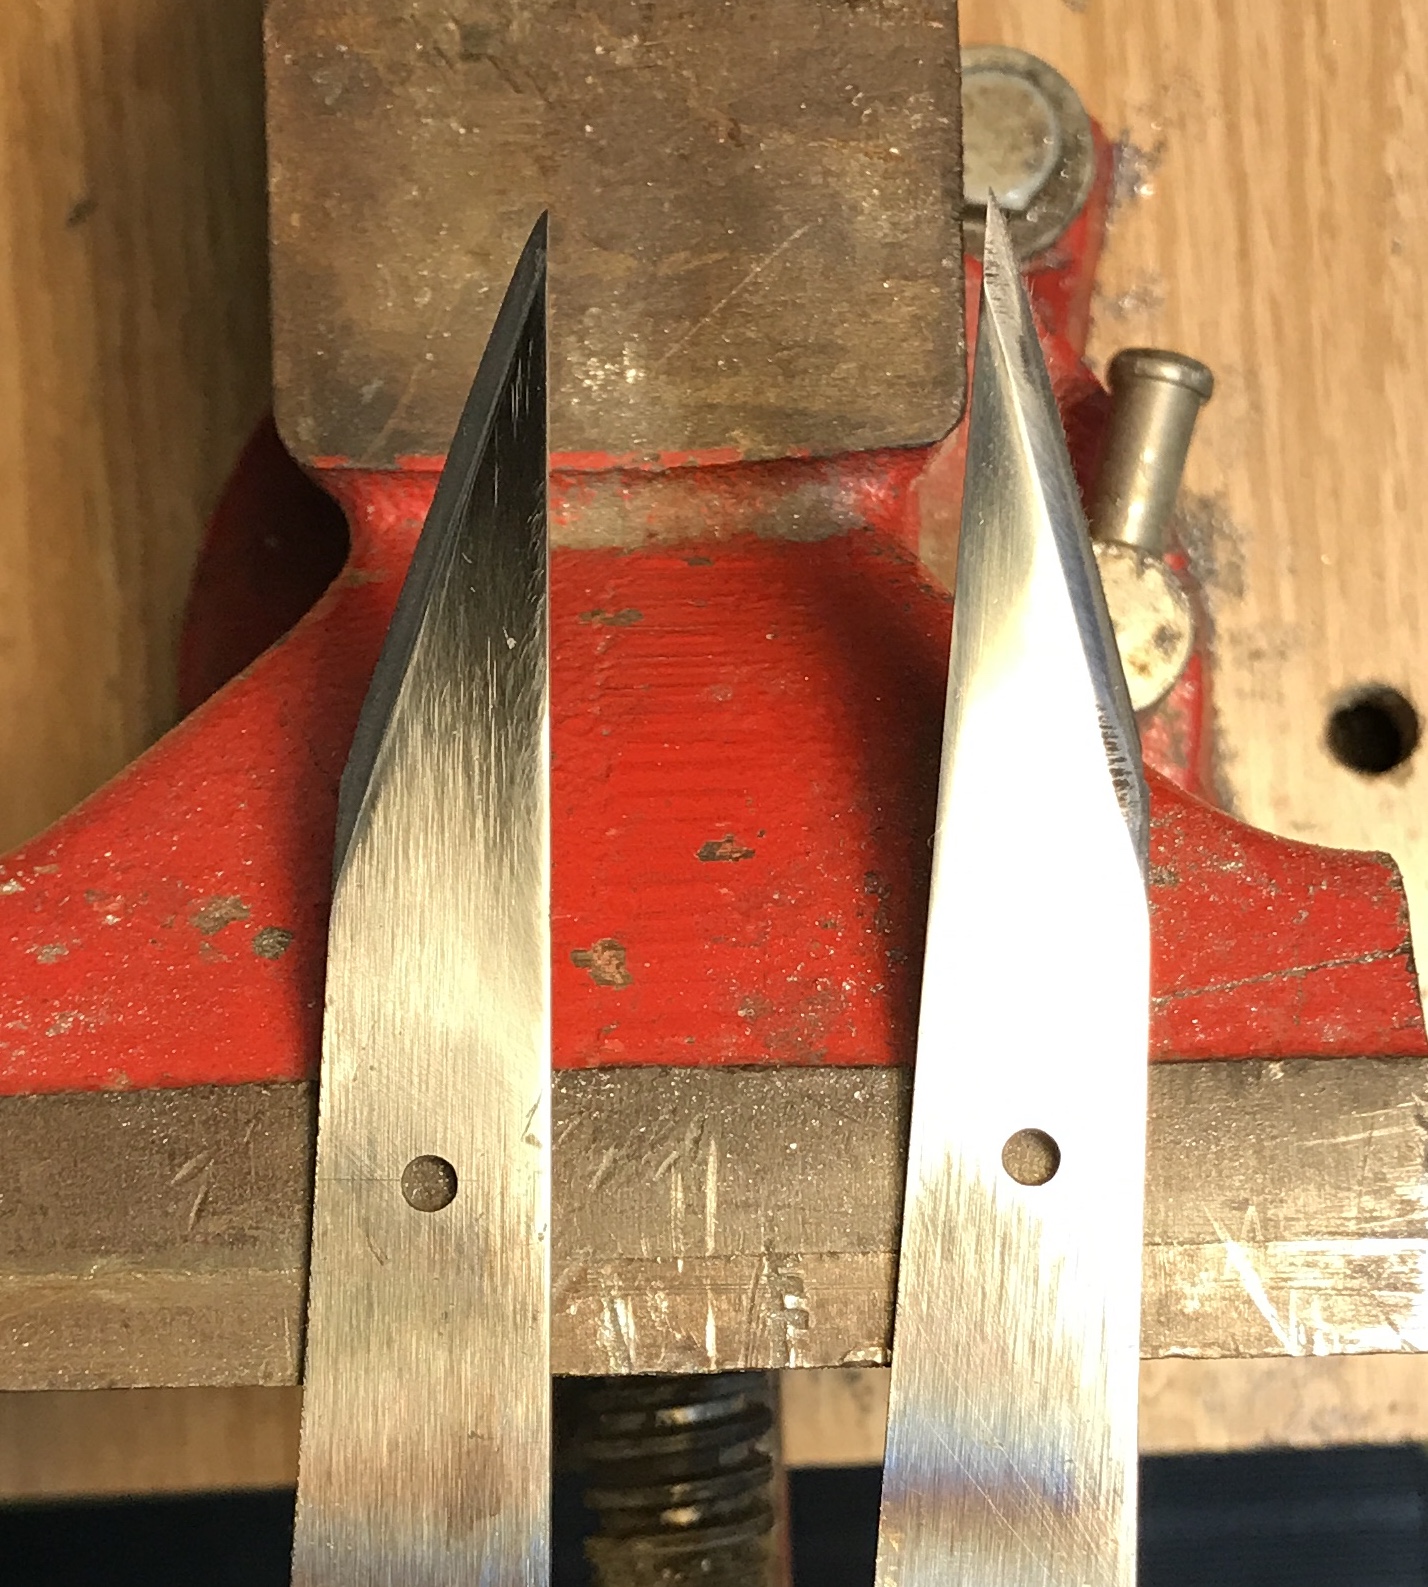
The six holes were punched, center drilled and drilled through with a 1/8" drill. A hacksaw was used to cut out the two blades from the steel blank. The two rough cut blades are shown in the photo below. To get the blades to final shape the rough cut blades were initially filed to the line. This works, but only for small sections that are close to the line. For greater metal removal the blade was sanded with the belt sander. It was important to be careful and not let the blade get too hot. The blades were held with a wrench and against a fence while sanding. A bevel was then filed by hand on the cutting ends of the blades. One blade was beveled on the left side and one blade had the bevel filed on the right side. Both bevels were filed at approximately 25°. The blades filed/sanded to this stage are shown on the right below.
The blades were hardened this afternoon. (Rhea's birthday knives showed up today as well.) They were heated until orange and then quenched in oil. Neither blade was sufficiently hard when checked with a file. The heating was repeated and I made sure that the knives were bright orange prior to quenching. This time neither blade was marked by the file. After hardening the blades were tempered. I was worried they might smell so I tempered them on the grill. The grill was heated to ~325° and the temperature was maintained for one hour. Only one burner was used and it was set about halfway between the low and medium settings. The blades were allowed to cool to the external temperature of 85° on the open grill.
The exposed part of the blades was then sanded. The sanding began with 220 grit paper and proceeded with 320, 400, 600, 1000, and 1500 grits. The blades were then honed on a stone with oil. Not razor sharp, but sharp enough.
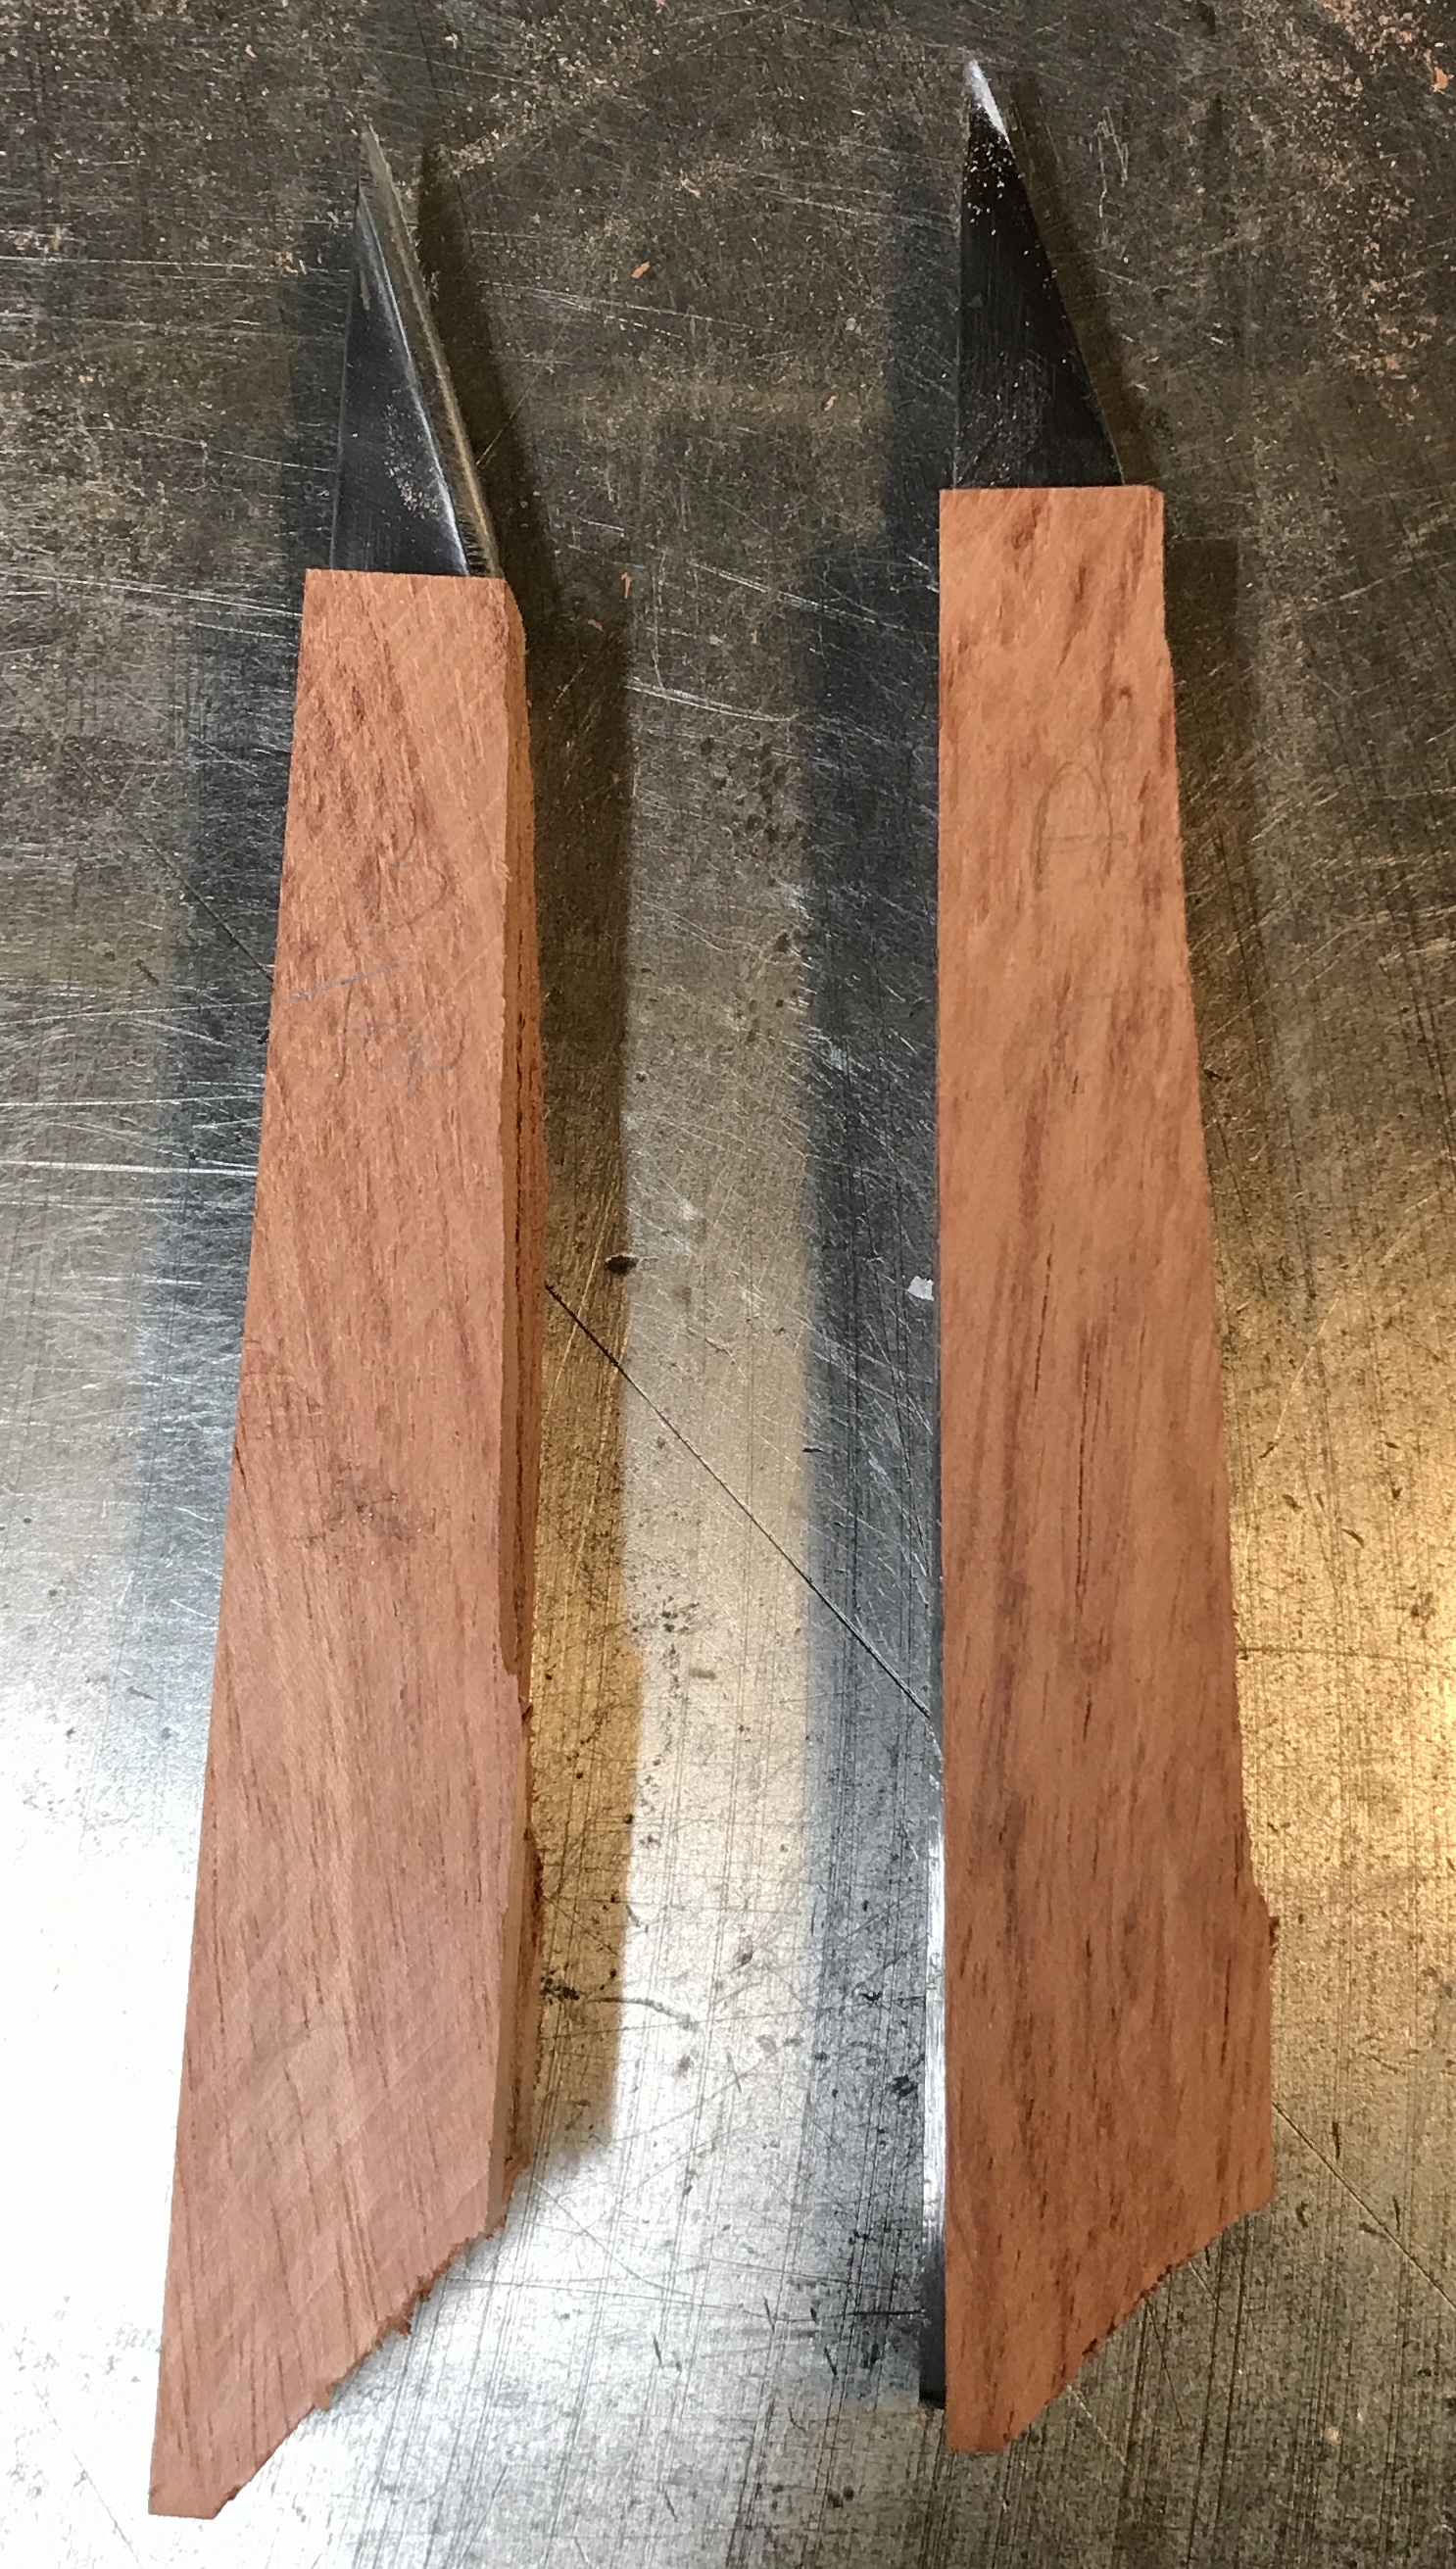
A block of cherry or walnut was found that was about 1" x 4" X 8". It was cut to size and split into two handle blanks. Each blank was 3/4" X 7/8". Each of these blanks was split down the middle to provide four 3/8" X 3/4" handle sides. The four sides were labeled and cut to 5" length. The blades were marked out on the inner faces of the handles. The handle sides were cut to rough shape with the Japanese pull saw. A photo of the rough handles is shown below.
The handles were shaped with a rasp, file and 150 grit paper after taping the blades. Three hours did not quite finish the first handle. I attempted to glue one side of each handle to the blade. The spray glue used was a mess. It was sufficient to allow drilling through the first side using the blade as template. This first side and blade was then used to drill through the second side. After one hole was drilled a 1" brass pin was inserted prior to drilling the second hole. A second pin was put in place prior to drilling the third hole. With two pins in place and not pushed completely through, one side was shaped with the rasp and file. The pins were pushed through to the other side and the second side was shaped. When the handles were close to final shape, the pins were cut to about 1/16" longer than the width of the handle at the hole. The pin was pushed into place. When all three pins were cut and in place they were peened with a ball peen hammer. At this point sanding was begun in earnest.
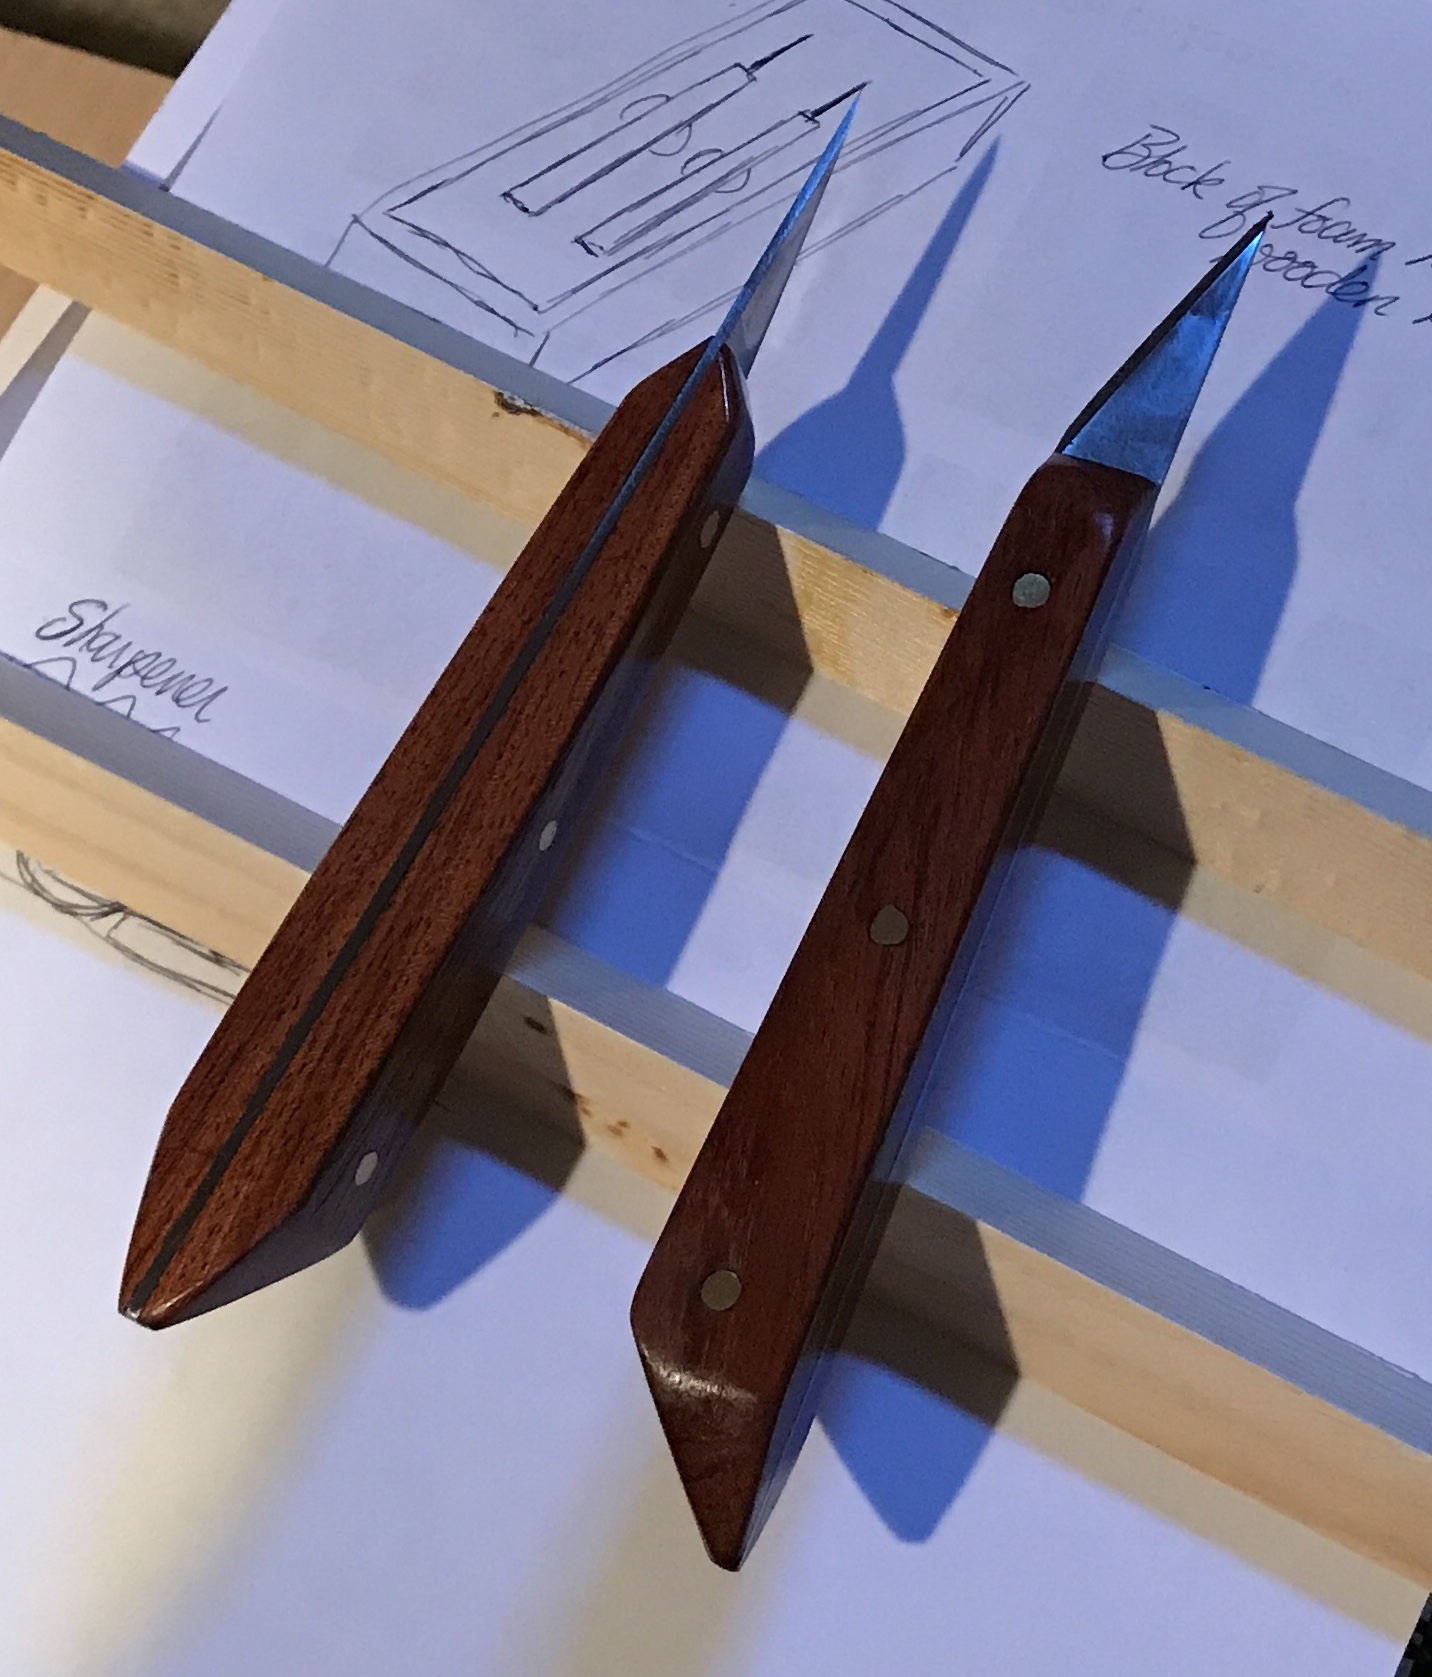
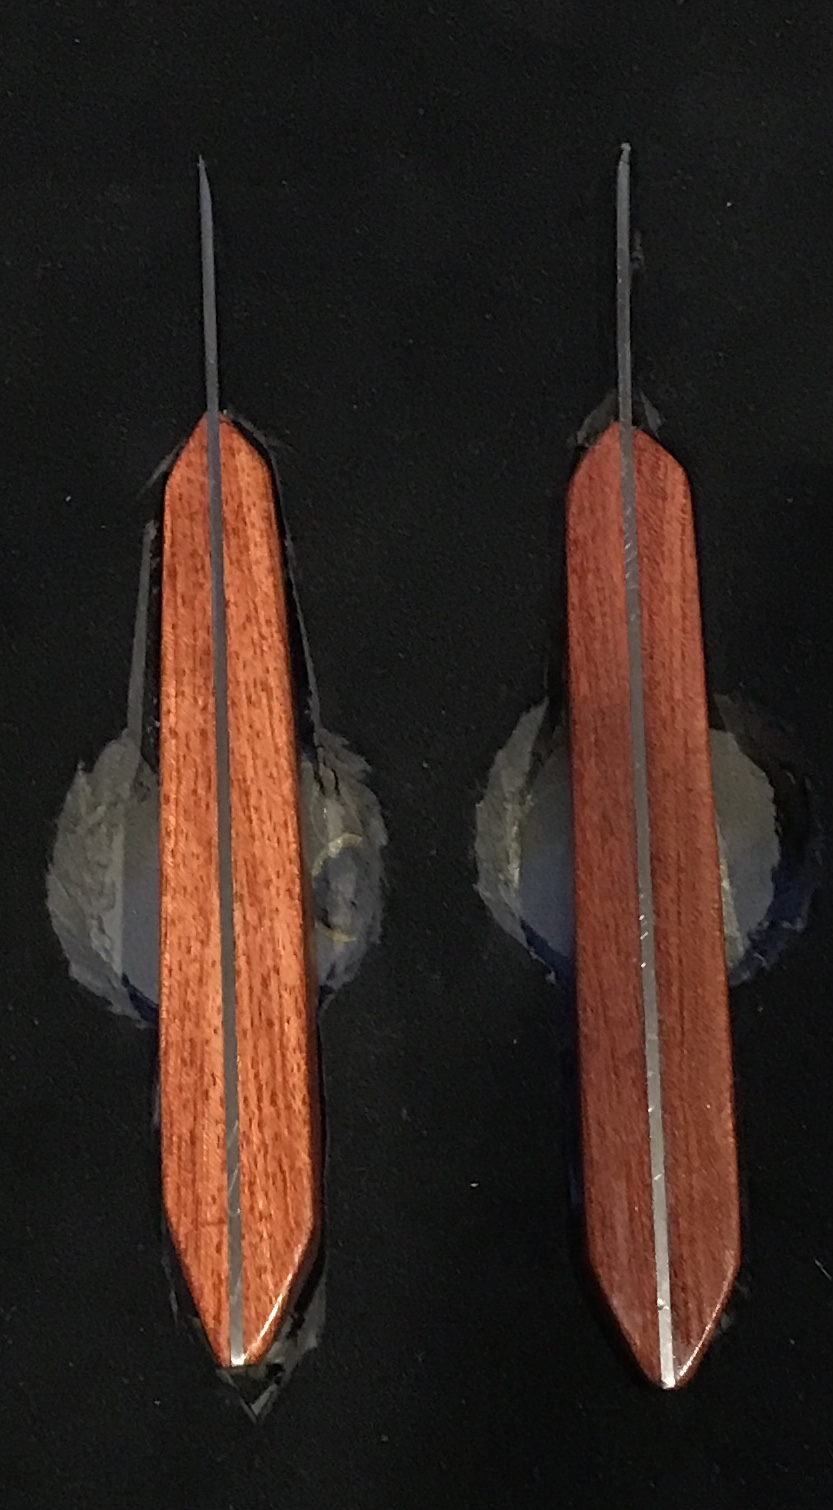
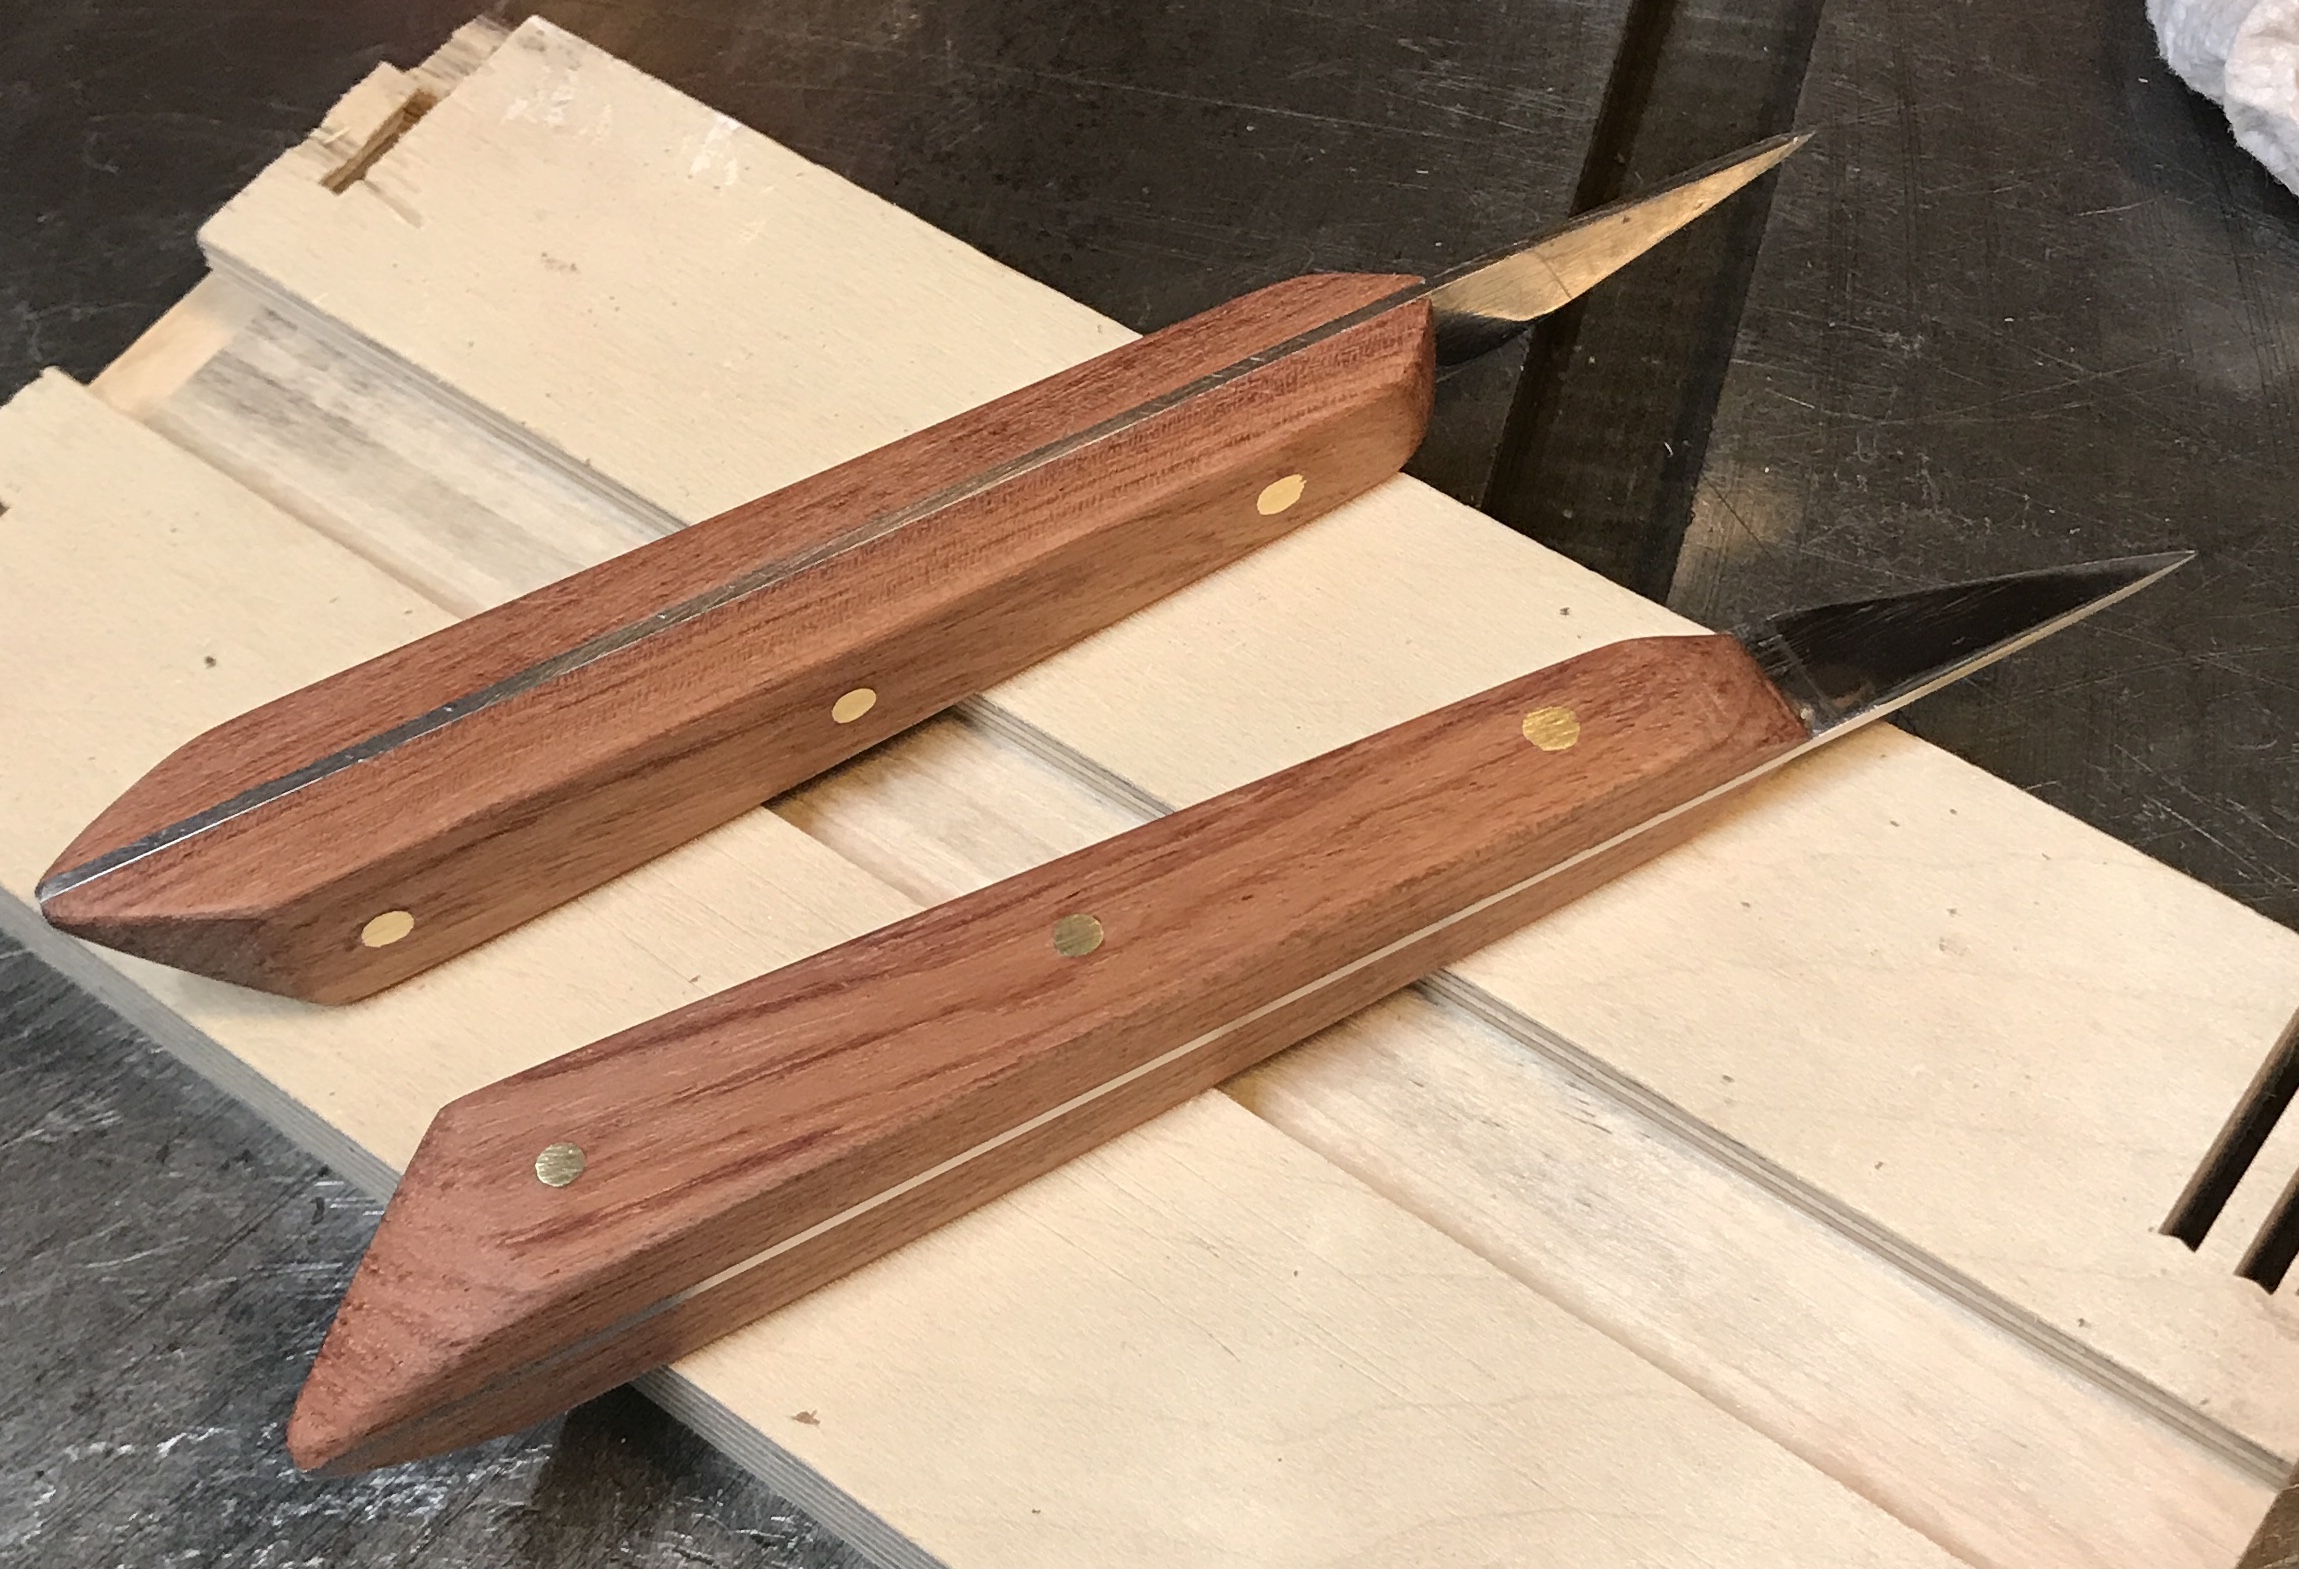
The handles were sanded with 150 grit paper to smooth and also to get the wood level with the metal tang. A lot of sanding was required to accomplish this leveling as well as remove the scratch marks from the rasp. After getting the surface to some semblance of smooth the handles were sanded with 220 grit sandpaper. This left a very nice finish. Dust was vacuumed and the tape was removed from the blades. The spray glue was still sticky on the blades. The stickiness was removed with isopropanol. The best thing found to remove the hardened glue was a fingernail. The knives at this stage are shown below.
A storage block of some kind needs to be made to protect the blades and fingers. In the meantime a block of foam will serve the purpose.
The handles were finished with two coats of tung oil applied at 24 hour intervals. Found a block of saved foam that had two layers. The top layer was covered with black felt. A 1 1/2" hole was marked with a hole saw. The top layer was cut around this circle. The outline of the knife was cut through the top layer. The cut material was removed leaving a space for the knife and a hole for finger access. This was repeated for the second knife. An adequate knife home for now.